This post is an addendum to my recent series of posts. Reading those posts is not required to understand this one, but it will provide you with context.
Introduction
After I’d written the first draft of my posts about LyrTube, etoile-et-toi, and LyrSync I was proof-reading them and realised they were a bit boring. I was happy with the content and the writing, but the posts were walls of text. With LyrSync in particular the visuals were a huge part of the project, so the fact that the post was completely devoid of imagery stood out as particularly dull.
Of course, the third blog post in that series was all about animation, so simple screenshots would not suffice. I would need to embed animated gifs in the post. A super-easy way to produce such gifs would be to use GifCam to record my screen. A fancier method would be to record my screen with OBS Studio and then use ffmpeg to produce high quality gifs.
But neither of these methods were pointlessly-overcomplicated enough for my tastes.
My solution
- Write a mock version of Popcorn.js which doesn’t play any video and allows precise manual control of the current time.
- Create a proxy server that intercepts requests for LyrSync and replaces the default Popcorn.js file with the mock version.
- Write a script that uses Selenium WebDriver to automatically open a browser to the proxied LyrSync, then repeatedly move the time forwards slightly and take a screenshot.
- Take all those screenshots and pipe them to ffmpeg.
- Have ffmpeg assemble them into a video.
Why do any of this at all?
Recording my screen with OBS Studio certainly would’ve been easier, and it would’ve been much faster as well. But this method means I know I’ll get a frame-perfect result, even if my computer was lagging at the time of recording. The values from Popcorn.js’ currentTime() method are sometimes a bit jittery, so this method also guarantees a perfectly smooth resulting video.
Additionally, this method allows me to record at a higher resolution than my monitor. I haven’t done this so far, but it’s nice to have the option.
Why use a proxy server?
When I started writing code for this I didn’t intend to use a proxy server, I thought that Selenium WebDriver (or PhantomJS, as I was originally planning on using) might have some kind of functionality for replacing JavaScript files with mock versions.
It turns out it doesn’t. You can inject JavaScript after a page has loaded, but there’s no way to inject it before the page loads or to replace one script with another. One way to overcome this is to modify the page to detect if it’s running in test mode (usually via a query parameter) and load the mock itself. But I didn’t like this approach, since I want the live version of the site to be completely clean of any recording code.
Using a custom proxy server allows for swapping in the mock JavaScript without touching the original site at all.
Why use Selenium WebDriver?
My initial plan was to use PhantomJS, which I’ve used a bit in the past and really enjoyed working with. I actually wrote an almost-working version in PhantomJS but hit an insurmountable snag at the last hurdle: the version of WebKit in PhantomJS is old and is lacking support for many of the web technologies that LyrSync relies on. Since PhantomJS is abandoned, it’s not feasible to update to a newer version of WebKit.
Selenium WebDriver is a bit less convenient since it causes an actual browser window to appear on my desktop. Fortunately everything continues working even if the browser window is partially off screen, or even minimised, so this inconvenience is minor. Selenium WebDriver works with browsers installed on the system (in my case, Firefox Developer Edition) and so modern web features aren’t a problem for it.
One inconvenient thing I noticed with Selenium WebDriver is that the screenshot function is quite slow. At 1080p it takes between 66ms and 500ms to complete, depending on the current content. I’m sure it wasn’t designed to take screenshots every single frame though.
Why pipe to ffmpeg?
If you want to produce a video programmatically, an easy way to do it is to have your software save each frame as an image into a folder, and then use ffmpeg to convert all the images in that directory to a video. Piping to ffmpeg requires a little bit of extra effort, so why bother?
Well, a 1920x1080 PNG generally takes up about 100KiB of space. Multiply this by 30 frames per second, and 7 minutes worth of frames takes up over 1GiB. 1GiB is hardly big by modern standards, and on my SSD the I/O speed wouldn’t have been an issue. So really, an image series was definitely an option and I was just making life harder for myself. But piping to ffmpeg just feels a lot cleaner to me.
Strange video artifacts
While I was working on this approach I ran into a strange issue. My Google searches on the topic didn’t turn up anything relevant until after I’d solved it and knew exactly what to look for. So I figure it’s worth writing up in the hopes that maybe this blog post will match the keywords that someone else is looking for.
The ffmpeg command used to encode the video is quite simple:
ffmpeg -y -f image2pipe -vcodec png -r 30 -i - -c:v libx264 -preset slow -crf 17 output.mp4Let’s break this down:
-ymeans that ffmpeg will overwrite the output file if it already exists-f image2pipetells ffmpeg that the “container format” of the input “video” is a series of concatenated image files-vcodec pngtells ffmpeg that the “video codec” (or, since we’re dealing with an image sequence, the image format) is png-r 30tells ffmpeg that the input video runs at a rate of 30 frames per second (we need to specify this explicitly, since images don’t have a framerate)-i -tells ffmpeg that it should read the input from stdin-c:v libx264specifies libx264 as the video encoder-preset slowallows x264 to spend more time encoding each frame, since we’re going to be limited by the speed of WebDriver’s screenshot function anyway-crf 17specifies the desired quality of the output video. Lower values mean higher quality. The default is 23 (which is fine) but I lowered it to 17 in an attempt to fix the artifacting issue. This lessened the problem, but didn’t remove it.
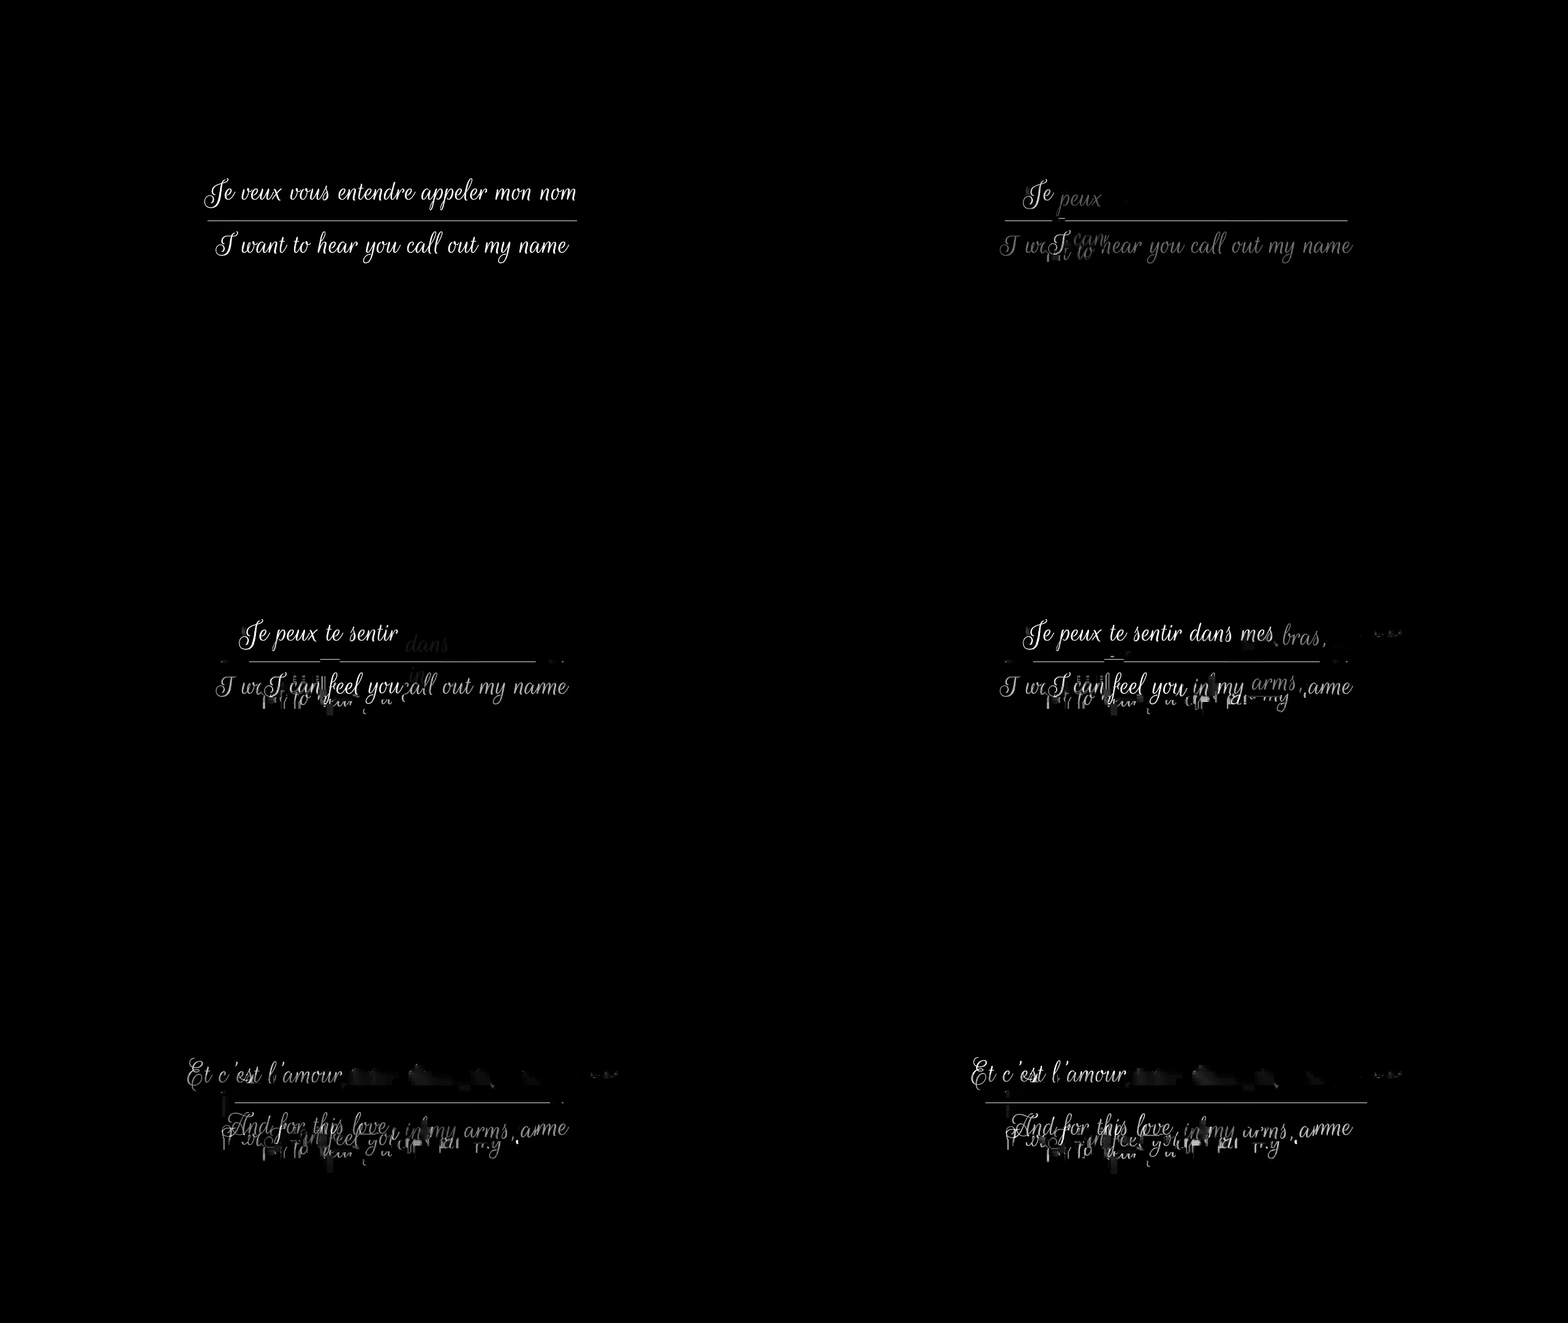
Overall, this is a pretty standard ffmpeg command, very similar to ones I’ve run hundreds of times before. So I was quite surprised when the output video exhibited strange artifacts:


My first goal was to rule out the possibility that the PNG screenshots contained these artifacts. The artifacts looked like video artifacts to me, so I didn’t think they were an issue with the screenshots themselves, but I wanted to make sure.
In order to do this, I re-ran the script but this time encoding with the mpeg4 codec within an avi container. This video was absent of the artifacts, although it did look generally low-quality (probably due to using such an old codec).
Initially I worked around the issue by using vp9 as the codec instead. This worked, but the problem haunted me and so I came back and kept trying to get h264 to work.
It turns out the problem was pixel formats. PNGs use the rgba pixel format, meaning each pixel has a value for red, green, blue, and alpha. h264 doesn’t support rgba, so ffmpeg helpfully converts the video to the ”closest” supported pixel format. In this case, that’s yuv444p.
yuv444p is pretty uncommon for h264 video, and it seems that MPC-HC fails to correctly decode h264 if the yuv444p pixel format is used, resulting in the artifacts I saw.
Once I knew what the problem was, it was quite easy to find others with the same issue on Google. In fact, someone who encountered this issue 7 years ago suggested adding a warning to ffmpeg if the pixel format was left unspecified, but this was never implemented. A warning message might have saved me more than an hour of troubleshooting!
Anyway, ffmpeg isn’t actually at fault, MPC-HC is. The same video plays back fine in VLC and is also decoded without issues by ffmpeg. So this issue would not have affected the GIFs I produced anyway.
Still, I’d like the videos to work more reliably, and yuv444p isn’t very efficient compression-wise. So I ended up manually setting the output pixel format to yuv420p:
ffmpeg -y -f image2pipe -vcodec png -r 30 -i - -c:v libx264 -pix_fmt yuv420p -preset slow -crf 17 output.mp4Conclusion
Overall, I’m happy with the result. I’d like to call this a one-day project, but that would be a bit misleading. I actually spent a couple of hours a day on it over a period of three days.
That’s it, that’s all I’ve got for you today. If you want all the gory details, take a look at the code on GitHub. Hopefully you’ve enjoyed this series of blog posts, gifs and all. With this short addendum, now you have a bit of an idea of what goes into these blog posts and how I like to cause problems for myself.